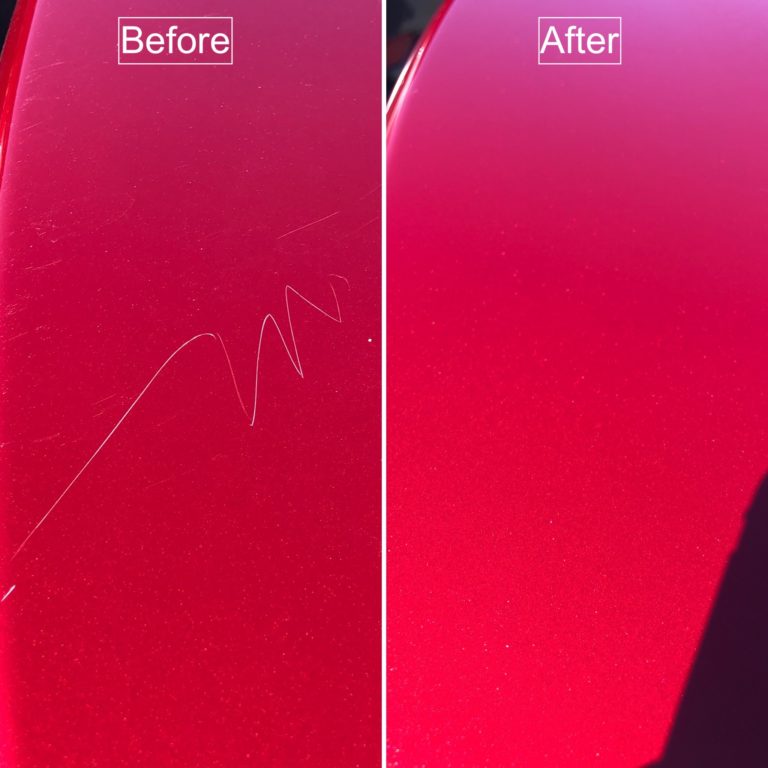
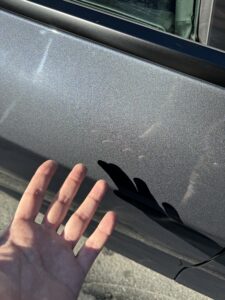
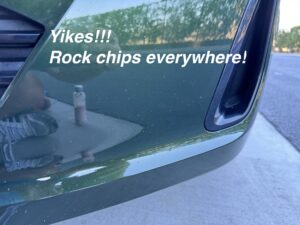
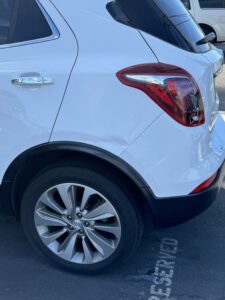
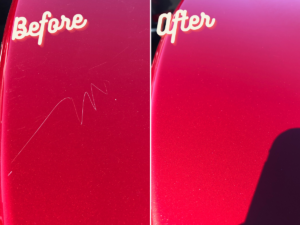
As with any repair job, you have to assess the damage before you can get started. Before moving forward with your car scratch repair, make sure you know which type of scratch you’re dealing with. There are light, surface scratches that don’t go deeper than the clear coat layer, and then there are deeper scratches that really get into the paint and beyond. Key scratches tend to be in the ‘deep’ category. You can tell that a scratch is only in the clear coat if it disappears for a moment when you wet it with water, wax, or rubbing compound.
Transfer
It’s also possible that your ‘scratch’ is just transfer. Transfer refers to the residue left on your car from whatever you accidentally bumped into. A light rubbing compound or a soapy cloth should take it off if that’s the case. Never, EVER use a kitchen scrubbing pad or anything of that nature on your car. You’ll want to use something very soft like a t-shirt cloth (I use these) or microfiber cloth. Even a paper towel is a bit too rough. If it’s really stubborn, you can use acetone, but use very little (just a few drops) on a soft cloth. Be patient. As you rub, the acetone will loosen the transfer slowly, and then it’ll come off all at once. If the acetone dulls the paint, you can easily buff it out with your cloth and car wax.
Surface Scratches
If it’s not transfer and they are indeed surface scratches, use a very gentle rubbing compound, or even car wax if you don’t have anything else, and a t-shirt cloth to rub out the scratches. You can use a lot of pressure. You might inadvertently dull the finish. Simply polish it out with less pressure and car wax. Mequires ScratchX also works really well and can be found at most retail stores like Target and Walmart.
Deep Scratches
Scratches that go past the clear coat layer are a bit harder to repair. To make it look like new again, each panel that is damaged will need to be sanded down and resprayed. The cost is $350 per panel on average. So, if the scratch is only a few inches long but crosses two separate doors, the price will double. If the scratch is on a vertical surface, it can be done by a mobile spray paint technician. If the damage is on a horizontal surface, like a hood, you’ll need a body shop. The difference is that dust settles in the wet paint on a horizontal surface so they’ll need a clean room to prevent that.
If you’re looking for a cheaper fix that will look better but not perfect, a skilled touch-up company like PaintCraft can repair the scratch pretty well in most cases. The darker the paint color, the more effective touch-up will be. In contrast, a scratch on a bright silver car probably won’t look any better with touch-up in this case, unless it’s near the bottom of the car. The metal flakes in the touch-up paint will be going in a different direction than the flakes in the good paint around it, so it will stand out just as much as the scratch when light hits it.
DIY
You may also be able to repair the scratch yourself. The rule of thumb most people follow is: if you can feel a scratch with your fingernail, then it’s deeper than the clear coat. However, I think that’s too general. You can still buff out many scratches that you can feel, but you need to know exactly how far you can go. The industry term for sanding through the clear coat is burning. If you do this, you’ll need to have it re-sprayed.
For a single scratch, I hand-buff with 3000-grit sandpaper or a buffing compound so the edges disappear. The middle of the scratch may still need to be painted, but this will make the scratch less visible. Hand-buffing maintains the integrity of the clear coat all the way around, in addition to hiding the scratch. Sometimes, a scratch is shallow enough that if you smooth out the areas along the sides, you can’t see it anymore. You could make a simple scratch worse by using a high-speed buffer on it, especially if the scratched area is on a curve at all.
I use two processes for painting or a combination of both: rubber squeegee and/or painting with a fine brush. I usually combine them. First, I’ll apply a dollop of Dr. Colorchip paint at one end of the scratch and use a rubber squeegee to smooth the paint across the scratch. The squeegee pushes the paint to fill in the scratch completely and keeps the paint pretty even with the surface of the car. Then, I’ll let the paint dry for about 10 minutes. When you can run your finger over the paint smoothly and it doesn’t feel tacky, it’s time to use the blending solution that comes with every Dr. Colorchip paint touch-up kit to gently remove the excess paint. I take a fine brush and put a very thin line of paint over the scratch to top it off.
